
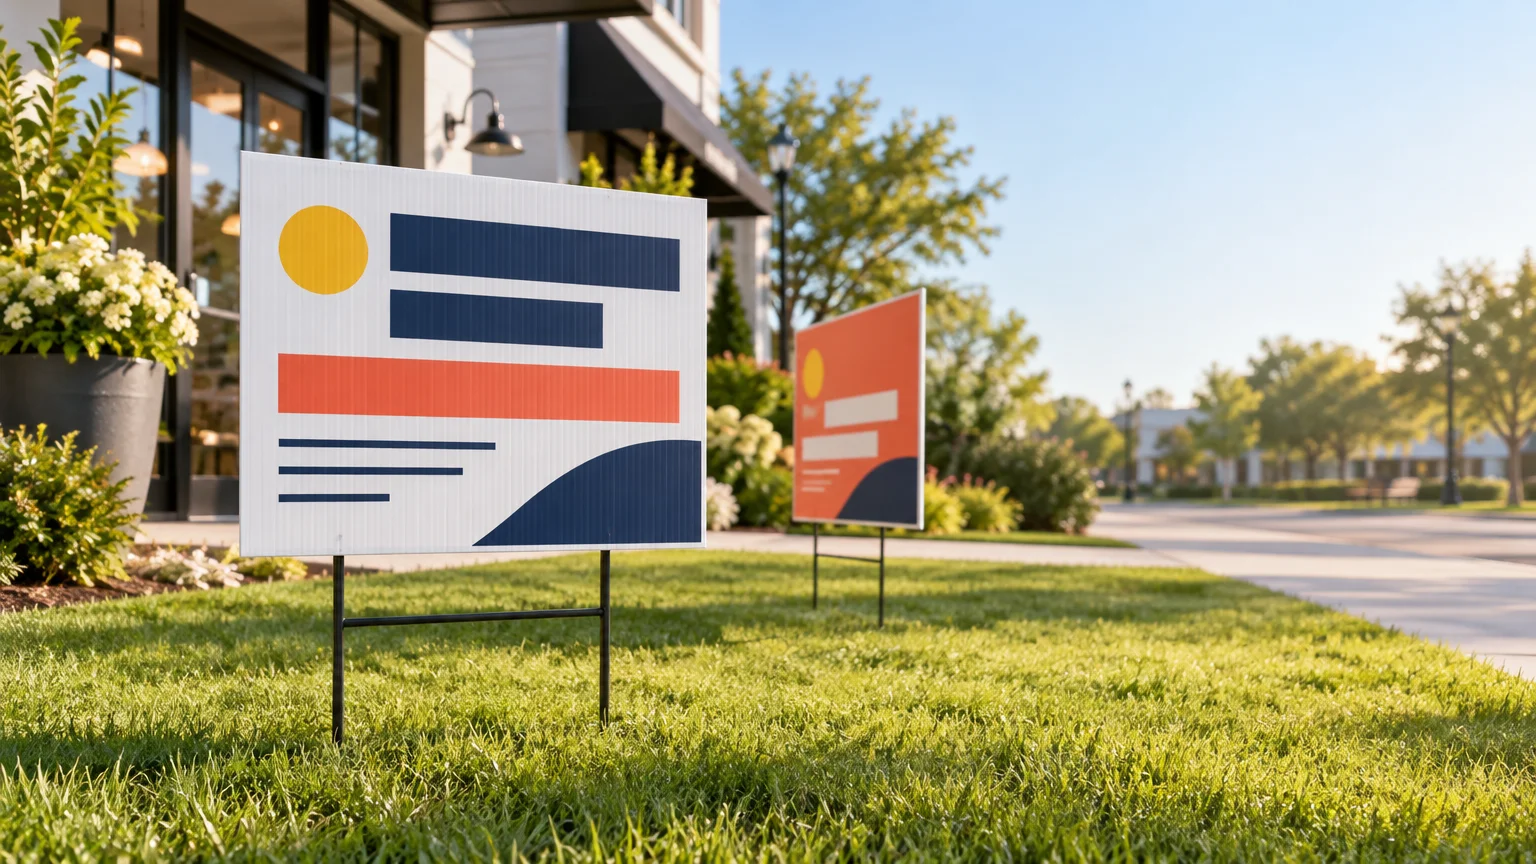
TLDR: For many temporary local promotions, a sensible yard signs printing order starts with an 18 × 24-inch corrugated-plastic sign and a compatible H-stake. Use a larger format when the sign will sit farther from viewers or compete with a busy setting. Keep the message short, choose one clear action, confirm the stake fits the board’s flute direction, and review the printer’s current template before uploading artwork.
The most successful yard sign is not necessarily the biggest or most colorful. It is the one a passing customer can understand quickly. Before comparing finishes or chasing the lowest unit price, decide where the sign will stand, how people will approach it, and what you want them to do next. Those answers should control the size, number of printed sides, mounting hardware, and design.
Choose a yard signs printing format for the viewing setting
Start with placement rather than dimensions. A small sign beside a pedestrian entrance has a different job from one positioned across a large lawn. FedEx Office currently lists corrugated-plastic lawn signs in 12 × 18 and 18 × 24-inch sizes, as well as larger corrugated signs with metal H-frames in 24 × 36 and 36 × 48-inch formats. These are useful reference points, although every printer’s range can differ.
| Starting format | Where it may fit | Design priority |
|---|---|---|
| 12 × 18 inches | Close-range notices, reserved areas, check-in points, or small lawns | Use very little copy and verify that the hardware fits the smaller board. |
| 18 × 24 inches | Typical lawn promotions, open houses, service-company signs, and event directions | Give the headline, brand, and next action a clear visual order. |
| 24 × 36 inches | Larger properties, entrances set back from the road, and more prominent directions | Keep the message simple even though the board provides more space. |
| 36 × 48 inches | High-visibility displays and locations where the sign must command more attention | Confirm the mounting system, wind exposure, placement rules, and printer specifications. |
Treat these sizes as starting points, not universal reading-distance rules. Print the design at a reduced scale or display it on a screen, then step back and ask someone unfamiliar with the promotion to identify the main message. For more help judging hierarchy and viewing conditions, see these large-format printing tips for readable signs.
Match corrugated plastic with the right hardware
Corrugated plastic is common for temporary lawn signs because it is lightweight and has internal channels, known as flutes. One supplier describes its yard signs as 4 mm corrugated plastic printed with weather-resistant UV ink. Another says its own corrugated-plastic signs are weather-resistant and may last up to six months outdoors. Those descriptions apply to the suppliers’ products; actual service life depends on the board, printing process, weather, handling, and installation.
A basic wire H-stake is often suitable for a standard temporary lawn sign. Its prongs slide into the board’s channels, so flute orientation matters. HP’s short-term outdoor signage guidance says boards used with H-stakes require vertical flutes, allowing the prongs to enter the channels. A beautiful sign with horizontal flutes can become an installation problem if it was supposed to sit on a wire stake.
Larger signs may need a metal H-frame or another more substantial display system. Do not assume that enlarging the board while keeping the same lightweight stake will produce a stable display. Check the printer’s listed board thickness, flute direction, stake compatibility, assembled dimensions, and installation instructions.
- Choose a wire H-stake for a compatible, lightweight temporary sign in an appropriate lawn setting.
- Consider a more robust frame when ordering a larger board or when the supplier specifies one.
- Ask whether stakes or frames are included, optional, or sold separately.
- Confirm that the soil and installation location can accept the selected hardware.
- Bring spare hardware when installing a group of signs for an event or campaign.
Decide whether one or two sides should be printed
One-sided printing works when viewers approach from one direction or when the back faces a wall, hedge, or restricted area. Two-sided printing makes sense beside a route with traffic approaching from both directions, but only when both faces will remain visible after installation.
Do not assume the printer automatically mirrors or changes the second side. Some workflows require separate front and back files. Directional arrows deserve special attention: an arrow that points correctly on the front can point the wrong way when the same artwork is repeated on the reverse. ComTix instructs customers ordering opposite-facing arrows to supply two pages with different arrow directions. Review both sides in the proof and label the files clearly.
Design the sign for one fast glance
A yard sign is closer to a headline than a flyer. It should communicate one message and one next step. Extra copy may feel informative on a laptop, but it becomes visual noise when somebody is moving past the finished sign.
- Lead with the useful message: Grand Opening, Open House, Parking, Hiring, or Book Lawn Care.
- Make the business or event identity visible without letting the logo crowd out the message.
- Use strong contrast between the text and background.
- Choose a bold, uncomplicated typeface and avoid thin letterforms.
- Add one obvious arrow when the sign provides directions.
- Use one primary response method, such as a short URL, phone number, or QR code with a fallback.
- Remove details that can wait until the customer reaches the destination or landing page.
For example, a landscaping company might use “SPRING CLEANUP” as the largest line, followed by its business name and a short web address. Services, credentials, social handles, a long slogan, two phone numbers, and a full paragraph can remain on the website. The sign’s job is to create recognition and make the next action easy.
Use QR codes as a secondary action
A QR code can help pedestrians, event guests, or people who have stopped nearby. It is less dependable as the only response method when the viewer is moving or far from the sign. Google’s technical guidance specifies a printed QR profile of at least 0.6 × 0.6 inch, or 15 × 15 mm, with clear space around it. That is a technical minimum, not proof that a code at that size will scan from the road. Google’s QR code specifications explain the baseline dimensions and clear-space requirement.
Make the code larger when the real viewing situation calls for it, preserve the empty margin around it, and place a short URL or readable contact method nearby. Test the final proof at the intended printed size with more than one phone. The destination should also load quickly and take visitors directly to the promised offer, booking form, menu, or event information.
Prepare an order-ready file
Download the chosen printer’s current template before finalizing the design. A general preflight checklist is useful, but the printer’s instructions control the order. MaketheSign, for example, requests final-size artwork, CMYK color, 150 dpi resolution, a 0.25-inch safety margin for key content, and separate front and back files where required. Those are supplier-specific requirements rather than universal specifications.
- Create the document at the ordered dimensions or at the exact scale allowed by the printer.
- Use the requested color mode and export format.
- Check photographs and raster graphics at the size they will print.
- Keep logos, text, QR codes, and other critical elements inside the printer’s safe area.
- Add bleed only when the template or product instructions request it.
- Supply separate front and back pages when the sides differ.
- Outline or embed fonts if the printer’s instructions require it.
- Review spelling, dates, phone numbers, URLs, arrows, and orientation in the final proof.
If file preparation is unfamiliar, use this broader guide to prepare print-ready files without the usual headaches. Pay particular attention to the uploaded proof. It is the last practical opportunity to catch a clipped phone number, an incorrectly repeated back, or an arrow leading guests away from the event.
Build the schedule backward from installation day
Avoid treating the production estimate as the entire schedule. Your project may also require design time, internal approval, proof review, production, shipping or pickup, sorting, and installation. Printer turnaround can change with quantity, configuration, workload, and delivery destination, so confirm the current estimate for the exact cart rather than relying on a general promise.
For an event, set the installation date first and work backward. Leave room for a corrected proof or replacement file, especially when the signs include dates, sponsors, multiple destinations, or different arrows. If yard signs are part of a broader campaign, coordinate their colors, offer, and timing with your other commercial printing rather than designing each item as a separate project.
Confirm placement before placing the order
A printable design is not automatically a permitted placement. Confirm that the property owner allows the sign and check applicable municipal, road-right-of-way, venue, and homeowners’ association requirements. Rules can vary by location and may address sign dimensions, placement duration, sightlines, or signs on public property.
Also inspect the physical site. Look for irrigation lines, underground utilities, hard ground, slopes, mowing routes, pedestrian paths, and obstructions. A sign that blocks a driver’s view or creates a trip hazard is not improved by excellent typography. Remove temporary signs promptly when the promotion or event ends.
Yard-sign ordering checklist
- Goal: Can the purpose be expressed in one short headline?
- Setting: Will viewers be walking, driving, arriving at an entrance, or waiting nearby?
- Size: Is the format appropriate for the placement and visual competition?
- Material: Does the selected board suit the planned temporary outdoor use?
- Hardware: Is the stake or frame compatible and included in the order?
- Flutes: Are corrugated channels oriented correctly for the mounting method?
- Sides: Will one face work, or do people approach from both directions?
- Artwork: Does each side have the correct message, arrow, URL, and orientation?
- Proof: Has someone checked the production proof rather than only the design file?
- QR fallback: Is there a short URL, phone number, or visible destination if scanning fails?
- Schedule: Does the plan include approval, production, delivery, and installation time?
- Permission: Have the property owner and relevant local or venue rules been checked?
Make the simplest sign that can do the job
For a typical temporary local promotion, begin by pricing an 18 × 24-inch corrugated-plastic sign with compatible H-stakes. Then adjust only when the actual location gives you a reason: move to a smaller format for close-range use, a larger board and stronger frame for a more demanding setting, or two-sided artwork when viewers approach from both directions.
The final design should answer three questions almost instantly: What is happening? Who is responsible? What should I do next? Once those answers are obvious, confirm the file specifications, proof both sides, check placement permission, and order with enough time to solve a problem before installation day.
References
- Custom Yard & Lawn Signs | Print for Business, Events & More | FedEx Office
- Yard Signs & Custom Lawn Signs – Design & Print Custom Yard Signs Online | Signs.com
- Short-term outdoor
- Custom Yard Signs & H-Stands Online | ComTix Tickets
- QR code specifications – Cardboard Manufacturer Help
- Yard Signs | MaketheSign.com