
Tag: vinyl stickers

  • How to Apply Transfer Stickers Correctly
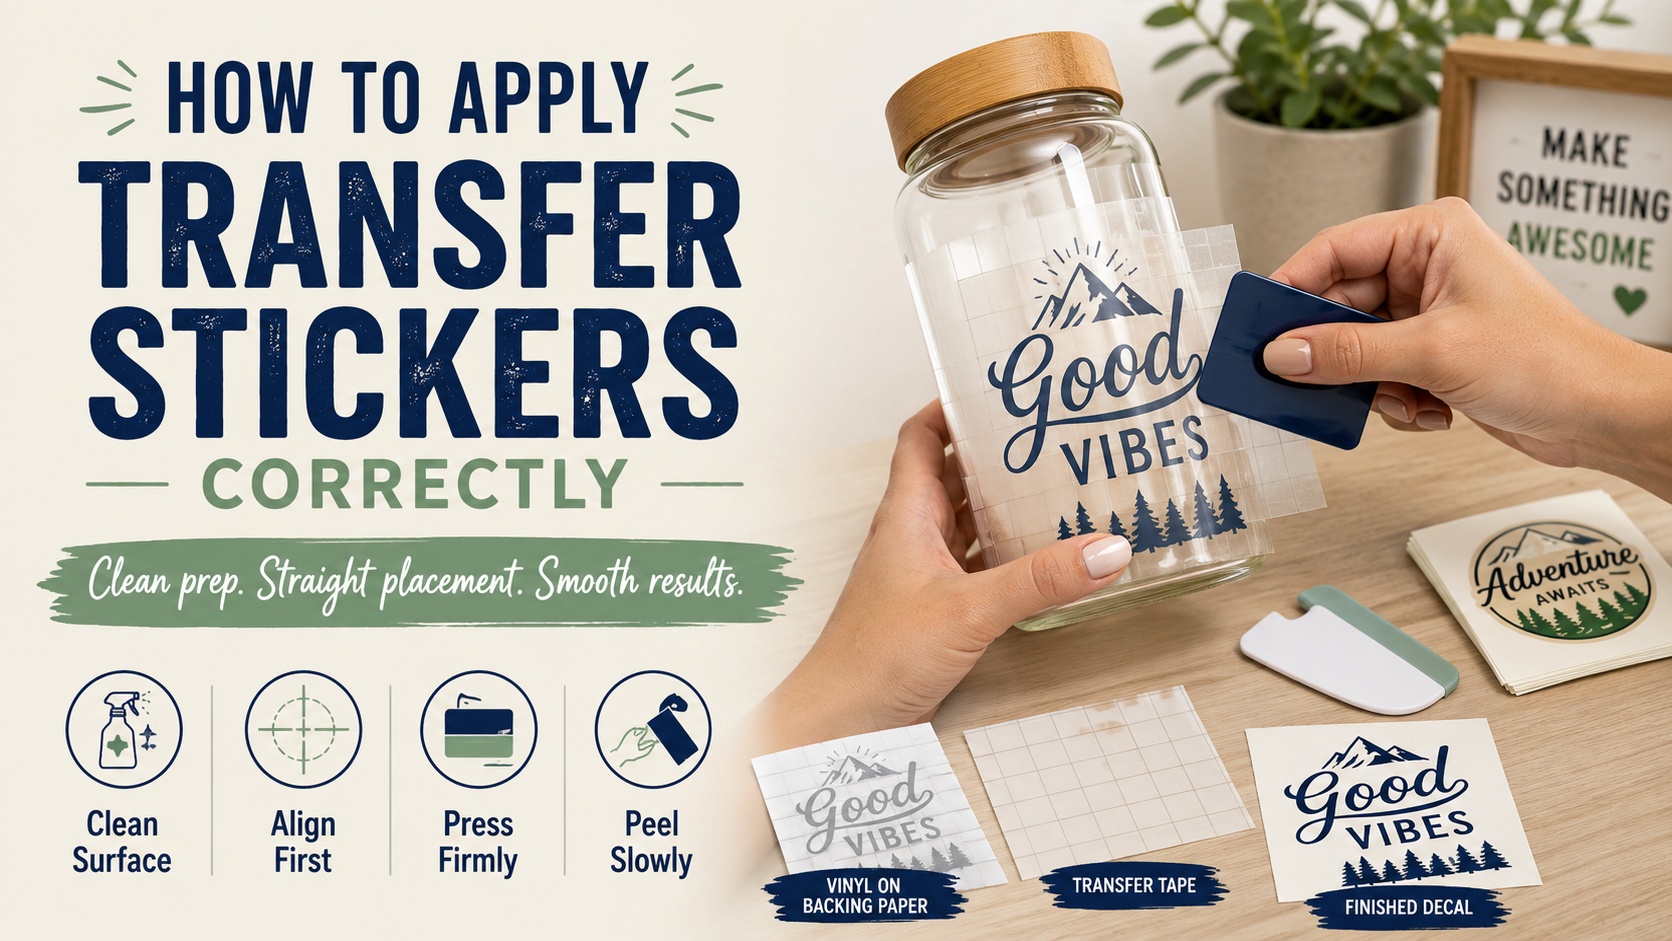
    How to Apply Transfer Stickers Correctly

    TLDR

    To apply transfer stickers correctly, clean the surface first, rub the transfer tape firmly, position the design before peeling, and remove the backing paper slowly. Use a squeegee or credit card to press the vinyl down, then peel the transfer tape back at a low angle. If any letters lift, lay the tape back down and rub again before continuing.

    A few minutes of prep makes a big difference. Most transfer sticker problems come from dust, oil, rushed peeling, or trying to apply the design to a rough surface.

    Transfer stickers are one of those products that feel simple until one tiny letter decides to stay on the backing paper. Not fun. The good news is that once you know the right order, the process is very manageable.

    Learning how to apply transfer stickers correctly mostly comes down to patience. Clean first. Press firmly. Peel slowly. That’s the rhythm. Transfer stickers are commonly used for window decals, car decals, water bottles, laptops, storefront lettering, walls, and branded displays because the transfer tape keeps every cut vinyl piece aligned while you apply it.

    If you’re ordering custom designs, you can see transfer sticker options here: https://customstickers.com/products/transfer-vinyl-stickers

    What Makes Transfer Stickers Different?

    Transfer stickers are usually made from cut vinyl. Instead of one printed sticker with a full background, the design is cut into individual shapes, letters, or logo pieces. Those pieces sit between two layers: the backing paper on the bottom and the transfer tape on top.

    The transfer tape does the important job. It holds the design together so you can place the entire sticker at once. Without it, applying separate vinyl letters or small logo details would be a mess.

    This is why transfer stickers are great for clean, simple designs. Think business names on glass, vinyl lettering on a vehicle window, a simple logo on a laptop, or a short phrase on a water bottle. They are not always the best option for detailed full-color artwork, tiny gradients, or photo-style designs. For those, vinyl stickers are usually a better fit.

    A good transfer sticker application has three goals:

    • The design lands straight.
    • Every vinyl piece sticks to the surface.
    • The transfer tape comes off without pulling the design back up.

    That sounds basic, but each step matters.

    Tools You’ll Need Before You Start

    You don’t need a professional install kit for most small transfer stickers. A few simple tools are enough.

    Have these ready:

    • A clean microfiber cloth
    • Rubbing alcohol or a gentle surface-safe cleaner
    • A squeegee, scraper, or credit card
    • Painter’s tape or masking tape
    • A ruler or measuring tape, if placement matters
    • A pin or needle for small air bubbles

    Avoid fuzzy towels, dirty rags, and harsh cleaners that leave residue. The surface needs to be clean and dry, not just “looks clean from across the room” clean.

    How to Apply Transfer Stickers Correctly

    The best way to apply transfer stickers correctly is to move slowly and treat the transfer tape like part of the sticker until the vinyl is fully attached. Don’t rush to peel everything apart. That is where most mistakes happen.

    1. Choose the Right Surface

    Transfer stickers work best on smooth, hard surfaces. Glass, metal, finished plastic, acrylic, laptops, water bottles, mirrors, and smooth painted surfaces are common choices.

    Textured walls, unfinished wood, dusty surfaces, fabric, rubbery plastics, and rough powder-coated surfaces can be harder. The vinyl needs solid contact with the surface. If the surface is bumpy, porous, oily, or shedding dust, the adhesive has less to grab.

    Here is a quick way to think about it:

    Surface TypeGood Fit?Notes
    Glass, mirrors, smooth metalYesGreat for clean vinyl lettering and logos
    Water bottles and laptopsUsuallyClean well and apply with firm pressure
    Smooth painted wallsSometimesMake sure paint is cured and not dusty
    Textured walls or raw woodUsually noAdhesive contact is uneven
    Fabric or siliconeNoTransfer stickers are not made for these surfaces

    For a deeper look at how these stickers are made, checkout this helpful guide on what transfer stickers are and how they are made.

    2. Clean and Dry the Surface

    This is the step people skip, and it is usually the step that causes the problem.

    Wipe the surface to remove dust, oil, fingerprints, wax, and cleaner residue. For glass, metal, and many plastics, a small amount of isopropyl alcohol on a microfiber cloth works well. Let the surface dry fully before applying the sticker.

    Do not apply a transfer sticker to a wet surface unless the sticker maker specifically recommends a wet application method. For most small transfer stickers, dry application is simpler and more reliable.

    Also avoid applying right after using heavy cleaners, wax, polish, or oil-based products. A surface can look clean but still have a thin film that weakens adhesion.

    3. Rub the Transfer Tape Before Peeling

    Lay the sticker flat on a table with the transfer tape facing up. Use a squeegee or credit card to rub across the whole design. This is often called burnishing.

    The goal is to make sure the vinyl is stuck to the transfer tape before you remove the backing paper. Use firm, even pressure. Pay extra attention to small letters, thin lines, dots, punctuation, and corners.

    Then flip the sticker over and rub the backing side too. This helps the vinyl separate from the backing paper more cleanly.

    Not glamorous. Very useful.

    4. Position the Sticker Before Removing the Backing

    Before peeling anything, hold the full sticker up to the surface and check placement. If it needs to be centered, use a ruler. If it needs to line up with a window edge, bottle seam, laptop corner, or storefront frame, check that now.

    For medium or large transfer stickers, use the hinge method:

    1. Place the full sticker where you want it.
    2. Add a strip of painter’s tape along the top edge.
    3. Flip the sticker upward like a hinge.
    4. Peel the backing paper away.
    5. Lower the sticker back down slowly while pressing from top to bottom.

    The hinge method gives you more control. It is especially helpful for business names, car window decals, wall lettering, and anything that will be obvious if it lands crooked.

    5. Peel the Backing Paper Slowly

    Now comes the part where patience pays off.

    Turn the sticker over and slowly peel the backing paper away from the transfer tape. Pull the backing paper back on itself at a low angle instead of lifting straight up.

    If part of the vinyl stays on the backing paper, stop. Do not keep pulling. Lay the backing paper back down, rub that area firmly, and try again more slowly.

    Small letters are the usual troublemakers. Dots over “i” letters, periods, commas, tiny stars, and thin lines need a little extra attention.

    6. Apply the Sticker With Firm Pressure

    Once the backing paper is removed, place the exposed vinyl and transfer tape onto the surface. Start from one side or from the taped hinge edge. Press outward as you go so you don’t trap large air pockets.

    Use a squeegee, scraper, or credit card to press the transfer tape down. Work from the center outward. Use overlapping strokes. The goal is full contact between the vinyl adhesive and the surface.

    For curved surfaces, like a tumbler or bottle, go slowly. Don’t stretch the vinyl. Start at the center of the design and smooth outward in small sections.

    7. Peel the Transfer Tape Back at a Low Angle

    After the sticker is pressed down, wait a minute and rub it again. Then start peeling off the transfer tape.

    Peel slowly. Pull the transfer tape back across itself at a low angle, almost flat against the surface. Do not yank upward. Pulling straight out can lift small vinyl pieces before the adhesive has fully grabbed.

    If part of the sticker lifts, lay the transfer tape back down and burnish that spot again. You can also let it sit for a few minutes before trying again.

    Once the transfer tape is removed, lightly press the vinyl with your finger or a clean cloth. Don’t scrape bare vinyl too hard, especially on thin lines.

    Best Places to Use Transfer Stickers

    Transfer stickers are a strong fit when you want a clean, painted-on look without a printed background. They are especially useful for simple logos, lettering, monograms, phrases, and single-color graphics.

    Good uses include:

    • Storefront window lettering
    • Car window decals
    • Brand logos on packaging displays
    • Laptop decals
    • Water bottle decals
    • Mirror decals
    • Office door names
    • Simple wall graphics
    • Event signage
    • Product display labels

    For business use, transfer stickers can make glass, packaging, and display areas feel more polished without adding much visual clutter. A white vinyl logo on a dark window or a black vinyl logo on a clear glass door can look clean and intentional.

    Common Mistakes to Avoid

    The most common transfer sticker mistakes are small, but they can ruin the final result.

    Applying to a dirty surface is the big one. Dust and oil create weak spots under the adhesive.

    Peeling too fast is another. If the vinyl has not fully grabbed the transfer tape or the final surface, fast peeling can pull up small pieces.

    Skipping the burnishing step can also cause problems. Transfer tape needs pressure to do its job.

    Applying to rough surfaces is risky too. The sticker may stick at first, then lift at the edges because the adhesive never made full contact.

    And finally, don’t apply a sticker in extreme heat, direct hot sun, freezing conditions, or on a surface that feels damp. Moderate indoor-style conditions are much easier to work with.

    How to Fix Air Bubbles and Lifted Edges

    Small bubbles happen. Most are not worth panicking over.

    For tiny bubbles, wait a day. Some settle on their own. For a larger trapped bubble, use a clean pin to make a tiny hole at the edge of the bubble, then press the air out gently with your finger or a soft cloth.

    If an edge lifts during application, press it back down and hold firm pressure for a few seconds. If the edge has picked up dust or lint, it may not stick cleanly again. That is why it helps to work slowly and keep the adhesive side away from clothing, pet hair, and dusty surfaces.

    If a letter comes off with the transfer tape, place the tape back exactly where it was, rub the letter firmly, and peel again at a lower angle.

    How Long Should You Wait Before Washing?

    After applying a transfer sticker, give it some time before washing, scrubbing, or exposing it to heavy moisture. For water bottles, avoid the dishwasher right away. For car windows, avoid washing the area immediately after application.

    A safe rule is to treat the sticker gently for the first 24 hours. Adhesives often build strength with pressure and time, so the first day matters. After that, the sticker should be better set, assuming it was applied to a clean, suitable surface.

    Conclusion

    Applying transfer stickers correctly is mostly about slowing down. Clean the surface, burnish the tape, line up the design, peel the backing carefully, press firmly, and remove the transfer tape at a low angle.

    That’s it. No fancy trick required.

    Transfer stickers are a great option when you want clean vinyl lettering, a simple logo, or a design that looks like it was placed directly onto glass, metal, plastic, or another smooth surface. The cleaner the surface and the more patient the application, the better the final result.